
An example of creating and using a WebSocket with the new ASP.NET Core. The example code is available on GitHub here.
Background
WebSockets were introduced as part of the draft HTML5 specification in 2008, and the first browser to provide support was Google Chrome in 2009.
At this time (July 2016), the following browsers fully support the WebSocket standard (RFC 6455):
- Internet Explorer 10
- Firefox 11 (PC,Android)
- Chrome 16 (PC,Mobile)
- Safari 6 (Mac,iOS)
- Opera 12.10 (PC,Mobile)
- Android Browser 4.4
Websockets
Unlike the HTTP protocol, a WebSocket provides fully bi-directional (full-duplex) communication, enabling a event based model of programming using a message passing protocol. Since there is not the constant overhead of re-establishing the connection, the passing of multiple small messages is extremely efficient and lends itself well to client/service interactions with low latency.
The specification defines ws and wss protocol schemes similar to http and https, to allow for both insecure and secure
communication options.
More details
Here are some reference links to more details about using WebSockets:
AspNet Core
Microsoft just released (June 27, 2016) .NET Core 1.0 and ASP.NET Core 1.0.
This release is perhaps the most significant since the original release of ASP.NET 1.0 on Windows. With ASP.NET Core you can now build ASP.NET applications for Windows, Mac and Linux, while still leveraging much of the great tooling provided with Visual Studio. For non-Windows developers there is also now an Open Source tool VS Code which runs on Windows, Mac, and Linux.
More details
Here are some reference links to more detailed introductions to .NET Core:
How to build an AspNet Core WebSocket Server
Once you gone throught the introductory steps in setting up your AspNet Core environment, we can now create our new websocket server.
Create Project and Add Packages
-
Create your base project (File -> New Project -> Visual C# -> Web), I’m calling this project
wsweb.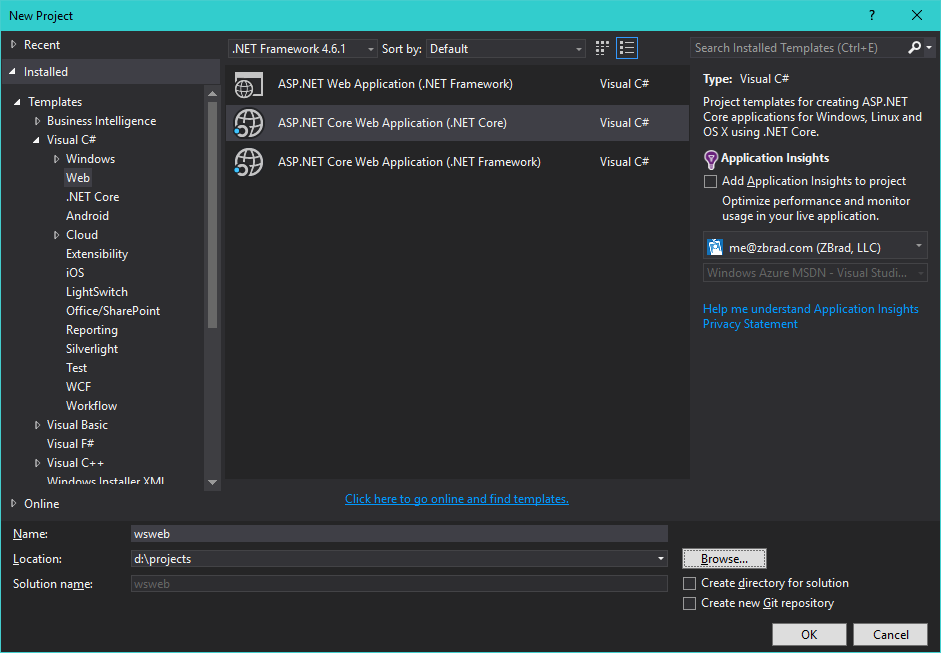
-
For our minimal setup, I used the
Emptytemplate selection, and I’ve also de-selected theHost in the cloudoption.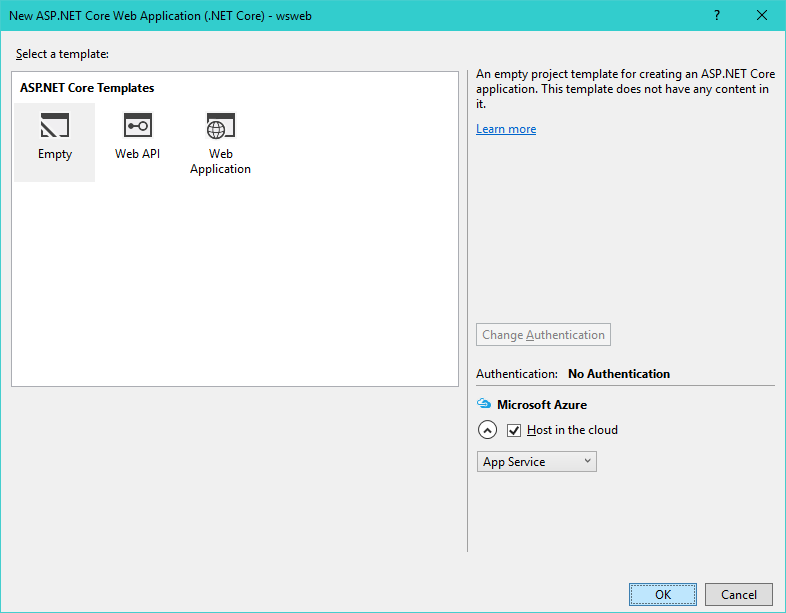
-
This gives us our initial project and solution.
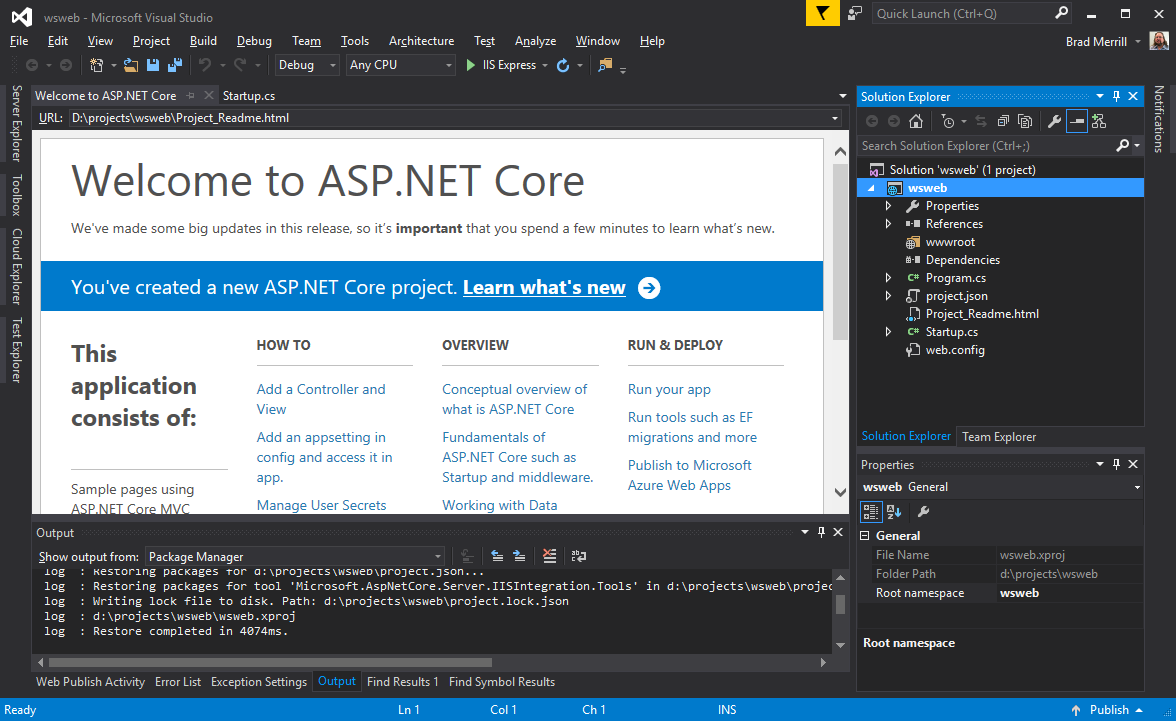
- From the initial template I’ve removed the provided readme.
-
The
startup.csfile is where we’ll begin, but we need some packages in order to start configuring. So on References we right-click and select Manage NuGet Packages. Here’s the packages that have already been installed by the template: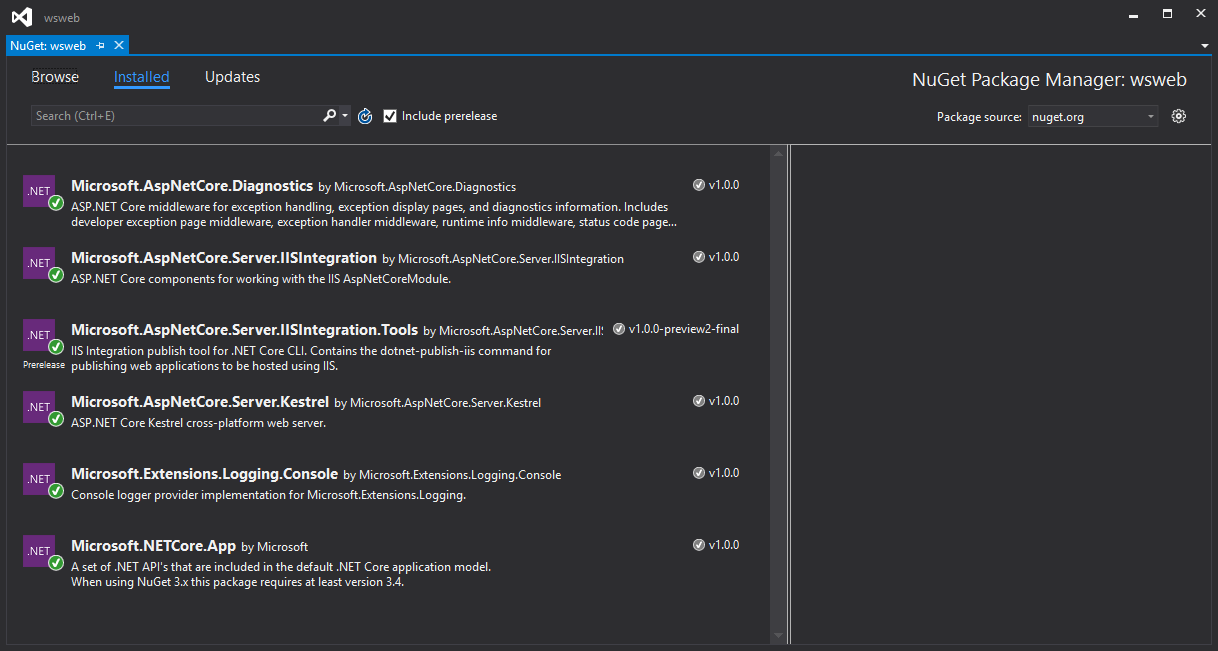
-
Now we’ll browse for new packages, switch to the Browse panel, and in the search text box, enter:
microsoft.aspnetcore.websockets. We’ll select and install theMicrosoft.AspNetCore.WebSockets.Serverpackage.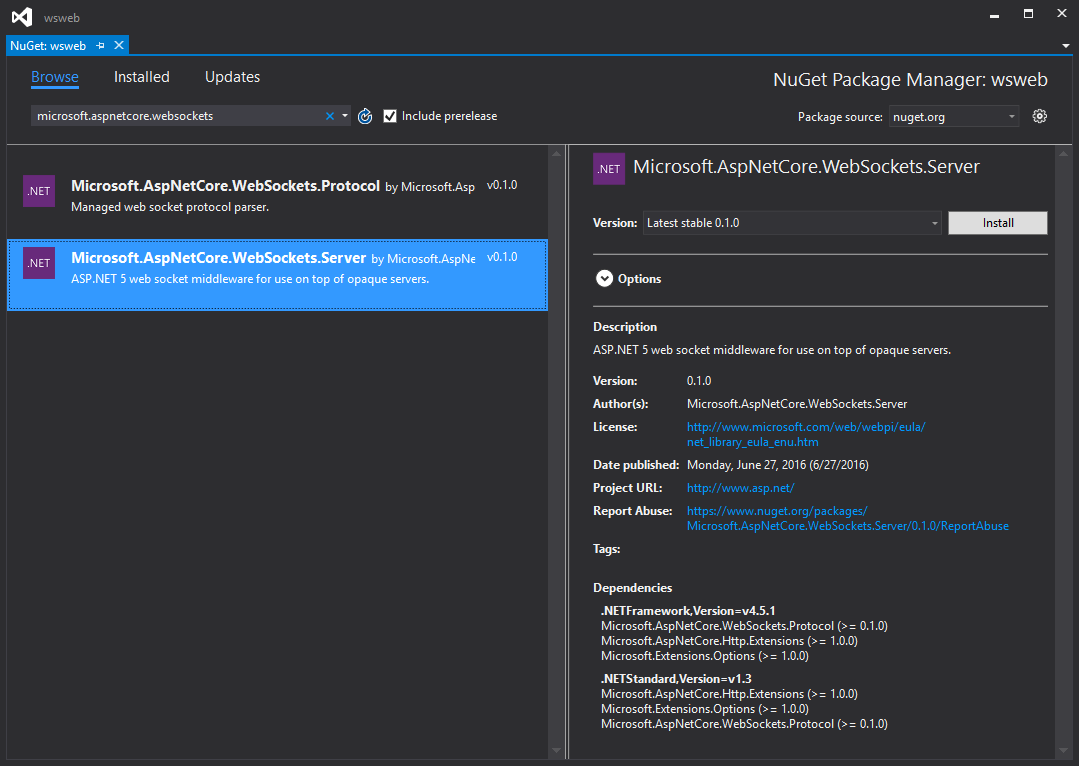
- Now in the search text box enter:
microsoft.aspnetscore.staticfiles, select and install the package.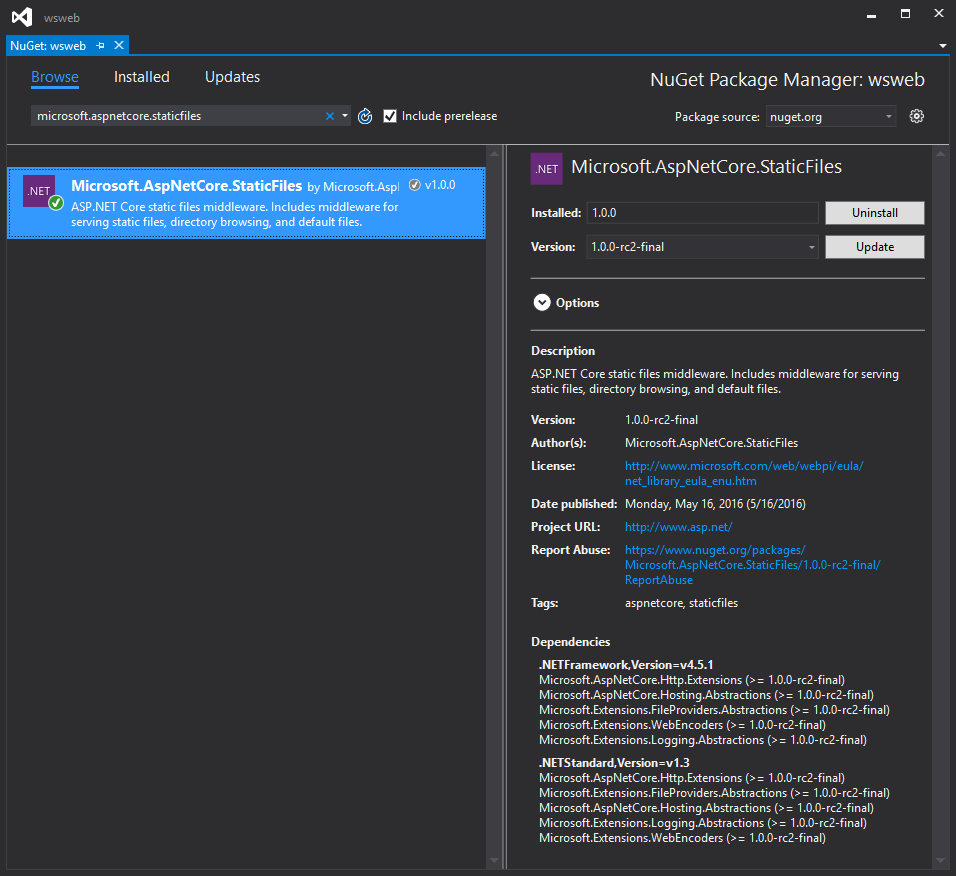
Create SocketHandler class
We can now build a basic WebSocket handler. Create a new class file (Add -> Class) SocketHandler.cs. Add using statements for our use:
using System.Net.WebSockets;
using System.Threading;
using Microsoft.AspNetCore.Builder;
using Microsoft.AspNetCore.Http;
Now we’ll create a private constructor, which accepts a WebSocket instance, and stores it in an instance variable.
    public const int BufferSize = 4096;

    WebSocket socket;

    SocketHandler(WebSocket socket)
    {
      this.socket = socket;
    }
For our demo purposes, we will define a basic ‘Echo Loop’ for processing web socket messages.
    async Task EchoLoop()
    {
      var buffer = new byte[BufferSize];
      var seg = new ArraySegment<byte>(buffer);

      while (this.socket.State == WebSocketState.Open)
      {
        var incoming = await this.socket.ReceiveAsync(seg, CancellationToken.None);
        var outgoing = new ArraySegment<byte>(buffer, 0, incoming.Count);
        await this.socket.SendAsync(outgoing, WebSocketMessageType.Text, true, CancellationToken.None);
      }
    }
Now we’ll create an ‘Acceptor’ which will associate an HttpContext with the EchoLoop.
    static async Task Acceptor(HttpContext hc, Func<Task> n)
    {
      if (!hc.WebSockets.IsWebSocketRequest)
          return;

      var socket = await hc.WebSockets.AcceptWebSocketAsync();
      var h = new SocketHandler(socket);
      await h.EchoLoop();
    }
Finally, we’ll expose a public static method for mapping incoming WebSocket requests.
  public static void Map(IApplicationBuilder app)
  {
      app.UseWebSockets();
      app.Use(SocketHandler.Acceptor);
  }
Close and Save.
Modify Startup
Edit Startup.cs, and remove the template provided “Hello World” placeholder
  app.Run(async (context) =>
  {
    await context.Response.WriteAsync("Hello World!");
  });
Insert the following statements, this will map the uri path ‘/ws’ to create a service a WebSocket.
  app.UseDefaultFiles();
  app.UseStaticFiles();

  app.Map("/ws", SocketHandler.Map);
Adding the UseDefaultFiles will allow us to implement a simple 1 page test within the site default file index.html.
How to build a JavaScript WebSocket Client
Now to create a client to properly test our new websocket endpoint. The basics of creating a WebSocket in javascript
are very straightforward. First create a new index.html file:
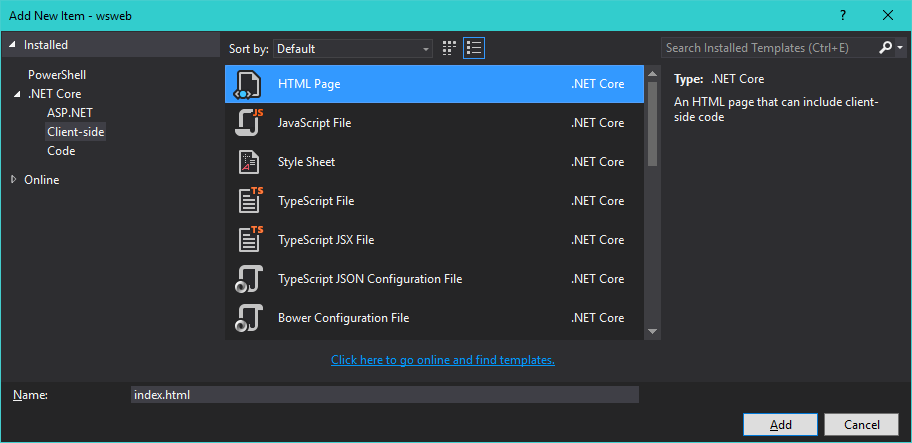
- Right click wwwroot
- Add -> New Item -> Html Page
Within the body element, add a new div tag:
<div id="output"></div>
Within the header element, add a new script tag:
<script language="javascript" type="text/javascript">


</script>
Inside the script element, insert the following javascript code:
var socket;
var uri = "ws://" + window.location.host + "/ws";
var output;
var text = "test echo";

function write(s) {
    var p = document.createElement("p");
    p.innerHTML = s;
    output.appendChild(p);
}

function doConnect() {
    socket = new WebSocket(uri);
    socket.onopen = function (e) { write("opened " + uri); doSend(); };
    socket.onclose = function (e) { write("closed"); };
    socket.onmessage = function (e) { write("Received: " + e.data); socket.close(); };
    socket.onerror = function (e) { write("Error: " + e.data); };
}

function doSend() {
    write("Sending: " + text);
    socket.send(text);
}

function onInit() {
    output = document.getElementById("output");
    doConnect();
}

window.onload = onInit;
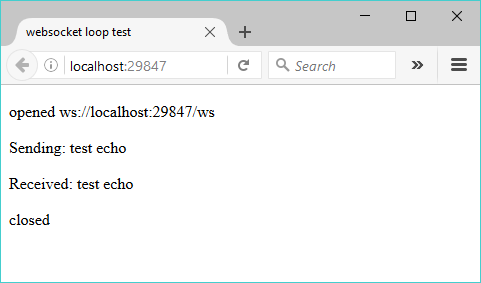
Now you can save and run the site, you should see the test output as below:
Summary
At this point you have created the basis for a fully bi-directional communication platform. In future posts, I plan to show how to create libraries that will:
- Support Publish / Subscribe models
- Support Common Messaging Models (JS <-> C#)
- Use TypeScript on the client